This section can be used for adding individual Defects on an ad-hoc basis, not related to an Inspection List
Step 1: Within plot view select + New Defect.

Step 2: The scheme and plot/address details will auto-populate.
Step 3: The contact details will auto-populate for plots with a primary contact in the 'Contacts' tab, or when details have been previously entered when adding a Defect.
If this does not auto-populate, details can be entered manually. Full Name is a mandatory field.
Notifications will only be sent to emails pulled through from the plot contact, not for Defect contacts.

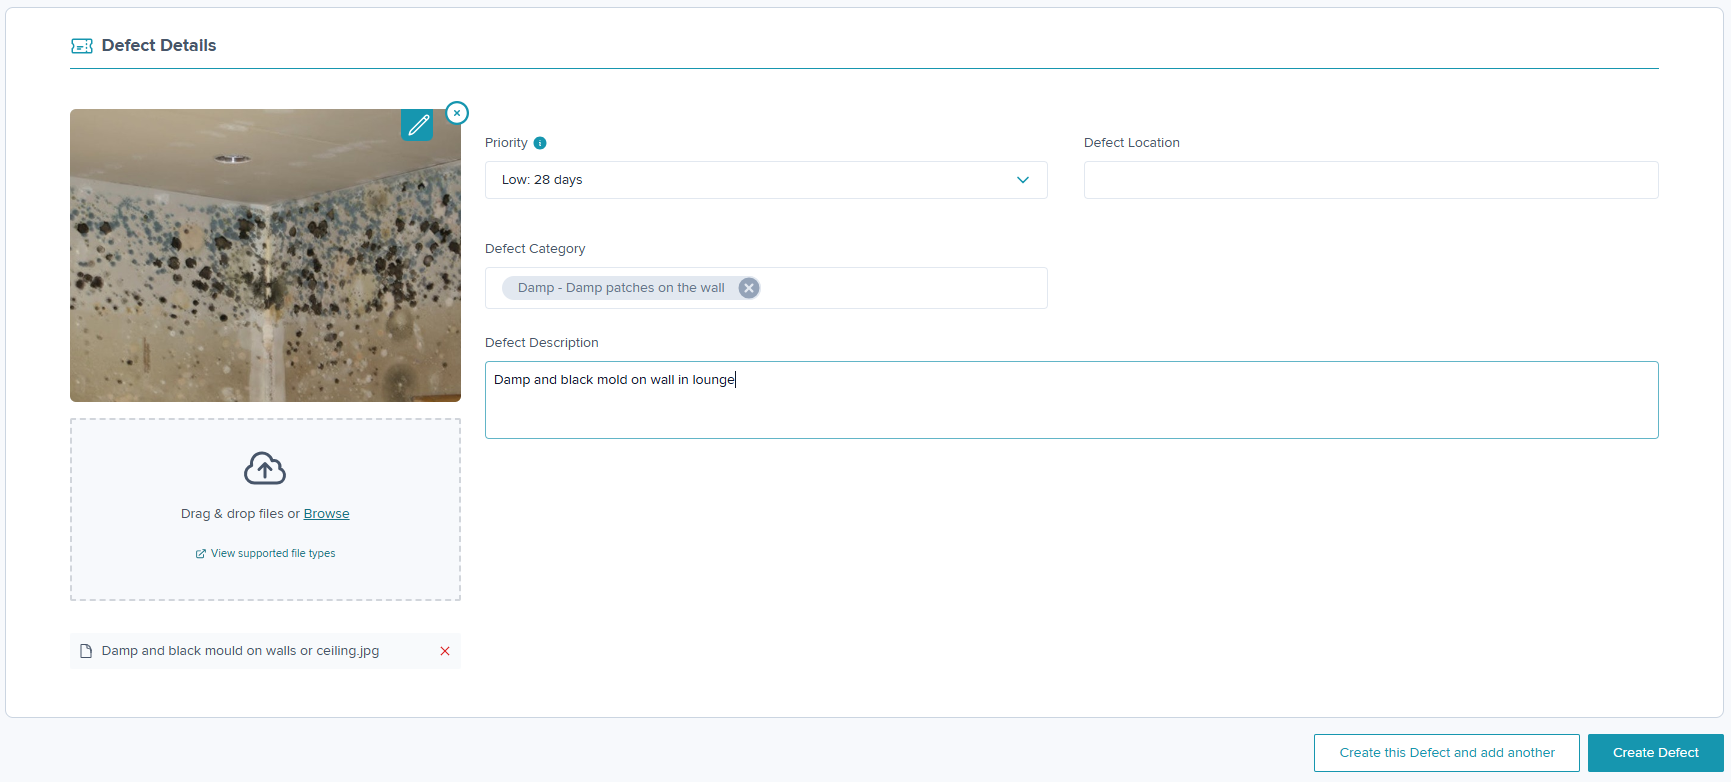
Step 4: Select the Defect Category/Subcategory for the Defect and a description detailing the Defect. Complete the details for Priority based upon the urgency of the Defect.
For example, 'Emergency' could be a water leak and 'Low' could be used for a nail pop.
Location is a free type box where you can give further information as to where the Defect can be found e.g. Living Room, Bathroom etc. This field will not be visible within the Resident Portal but will pull through to the nomination PDF.
Step 5: Add any supporting images/documents by selecting 'Browse'. You can annotated your images by selecting the pencil icon on the uploaded image. The annotation options have improved giving further options including pencils, shapes, text boxes and emojis!
Step 6: Once complete, click on Create Defect or if you have another Defect to add click on Create this Defect and add another.
Was this article helpful?
That’s Great!
Thank you for your feedback
Sorry! We couldn't be helpful
Thank you for your feedback
Feedback sent
We appreciate your effort and will try to fix the article